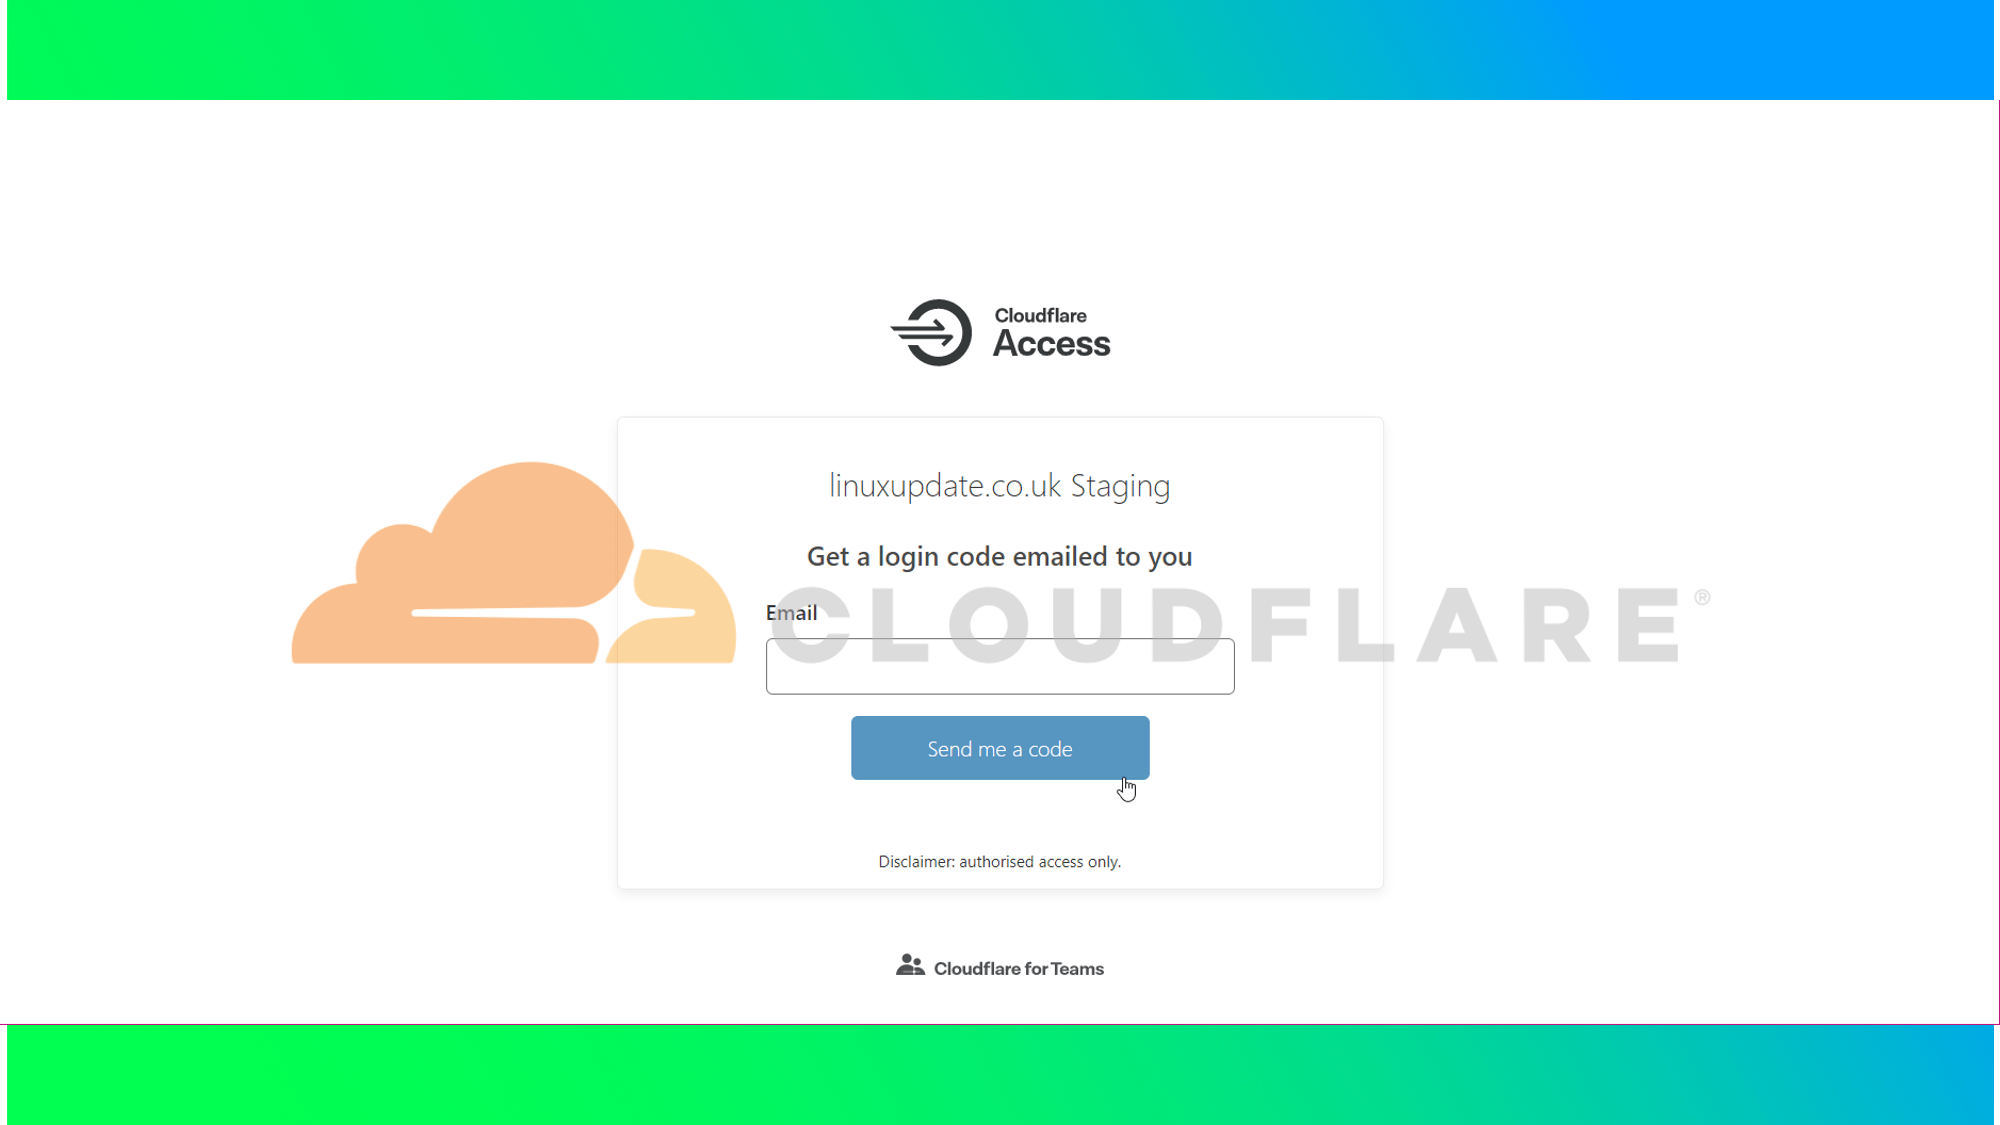
Cloudflare: How to use Cloudflare Access
Cloudflare advertise Access as a VPN replacement for web-based applications. It replaces the usually fairly basic authentication methods used when dialling in over VPN with SSO linked to any of the major SSO providers (Azure AD, G Suite, Okta, etc).
You will also need to configure an identity provider if you want to use SSO. Cloudflare Access comes with Email Access pre-configured, but if you want to use Okta or Azure (for example), you’ll need to configure those from Access > Authentication. There are current guides for every SSO service on that page.
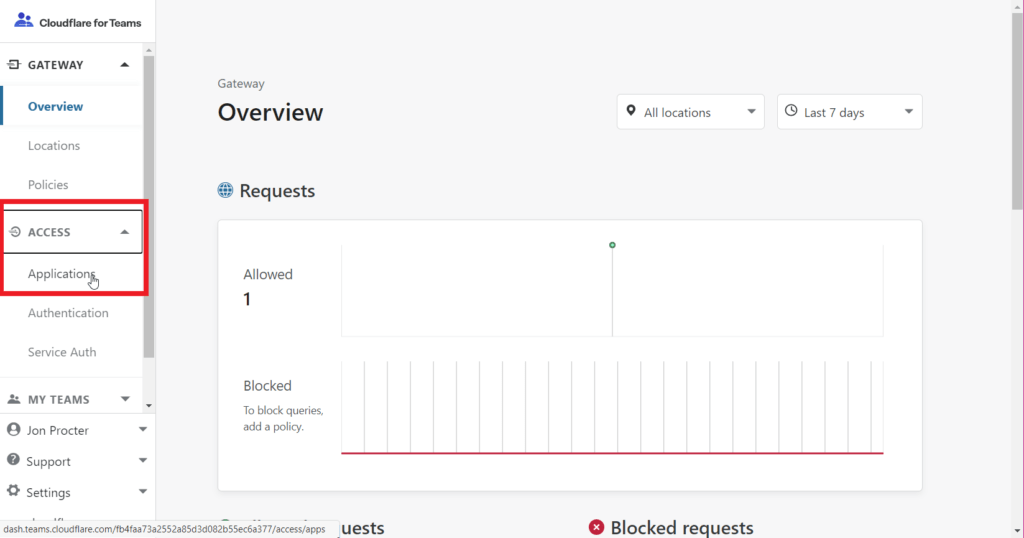
Log into the Cloudflare for Teams page at https://dash.teams.cloudflare.com/, click on Access on the left hand side, and then Applications.
Next, click Add an application
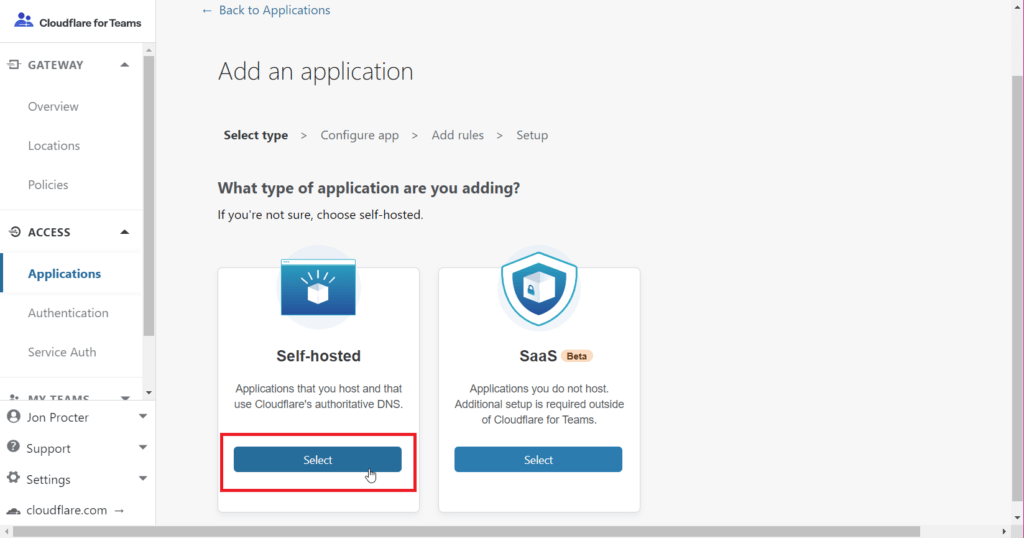
Pick Self-hosted – remember, your domain needs to be on your Cloudflare account. You’ll need to pick it from a dropdown list in a minute.
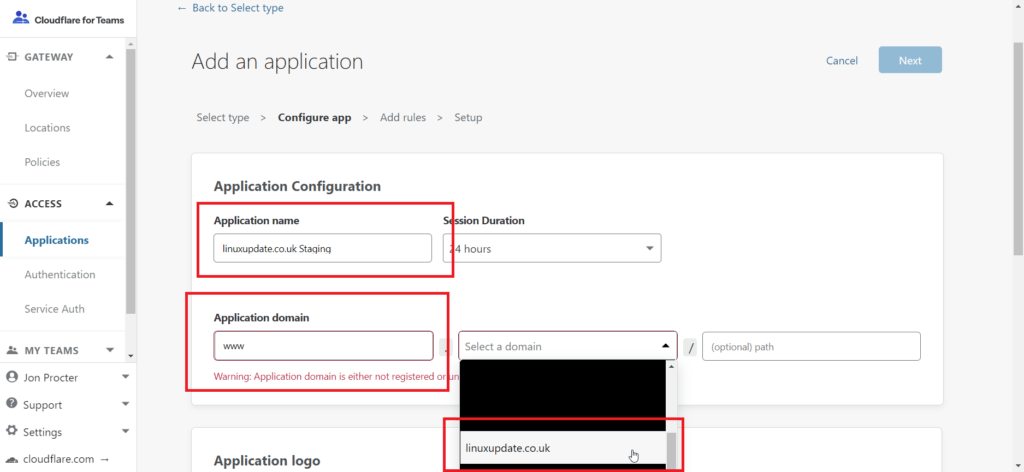
Enter an application name, subdomain (if applicable), and select the domain from the list. If you only want to protect a specific directory you can put that in too.
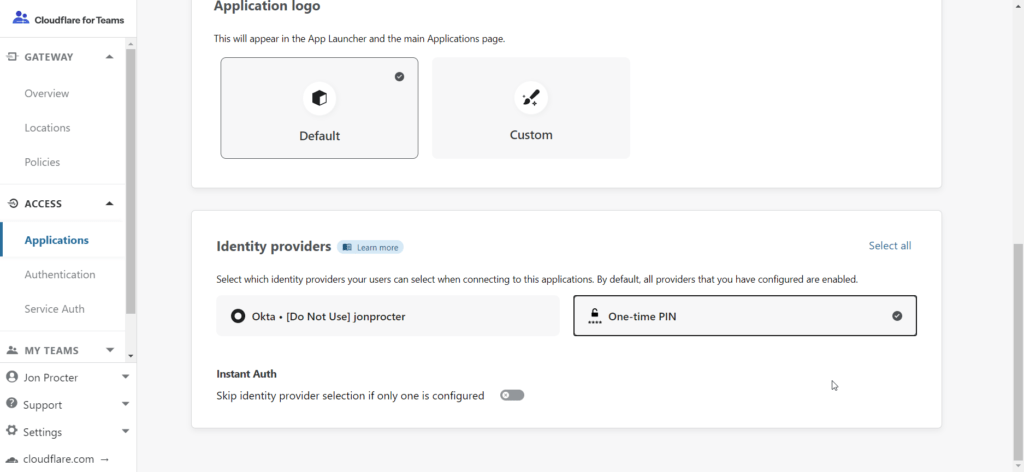
Scroll down and pick your Identity Provider. We’ll be using One-time PIN for this guide, but there are a number of different services supported by Cloudflare for Teams. Click on Access > Authentication on the left hand side. Click Next.
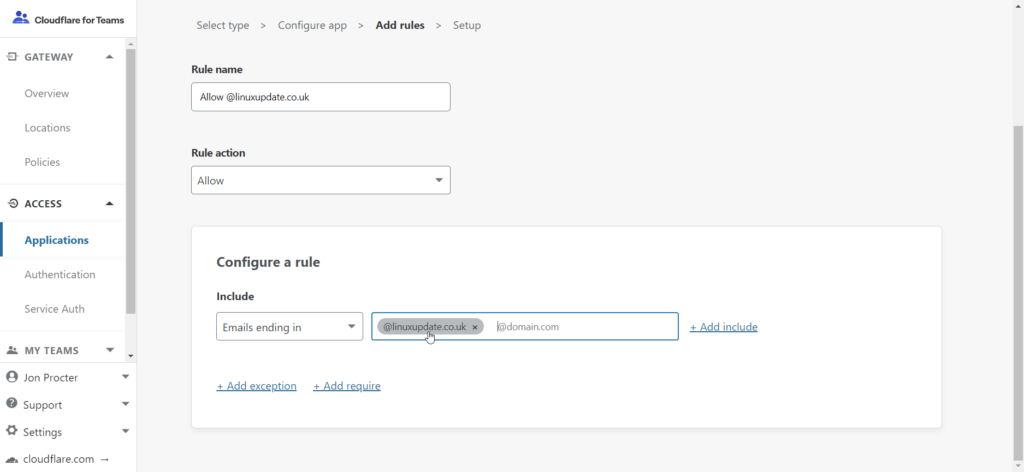
For One-time PIN, enter your email requirements (we’re allowing all emails ending in linuxupdate.co.uk to log in, but you can pick specific email addresses if you’d like). Click Next.
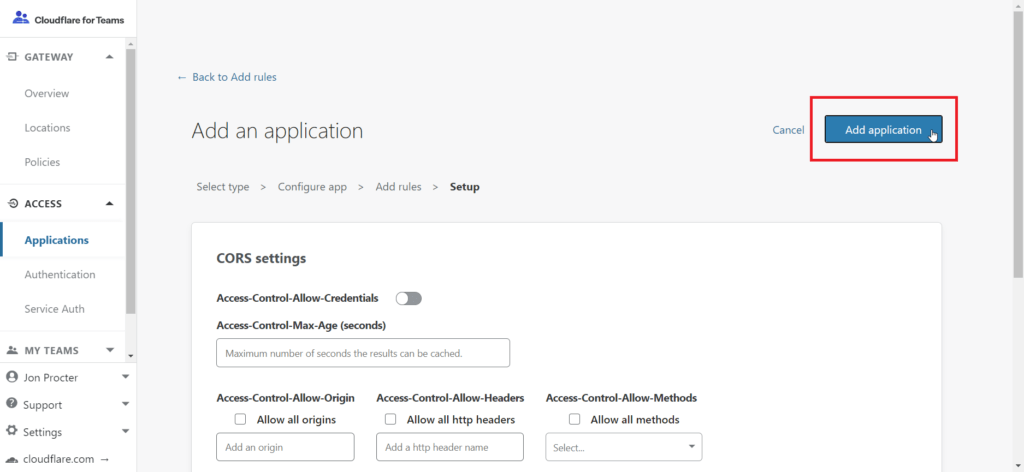
Lastly, click Add application. You can configure the CORS settings if needed, but for the purposes of this guide we’ve left them as the default options.
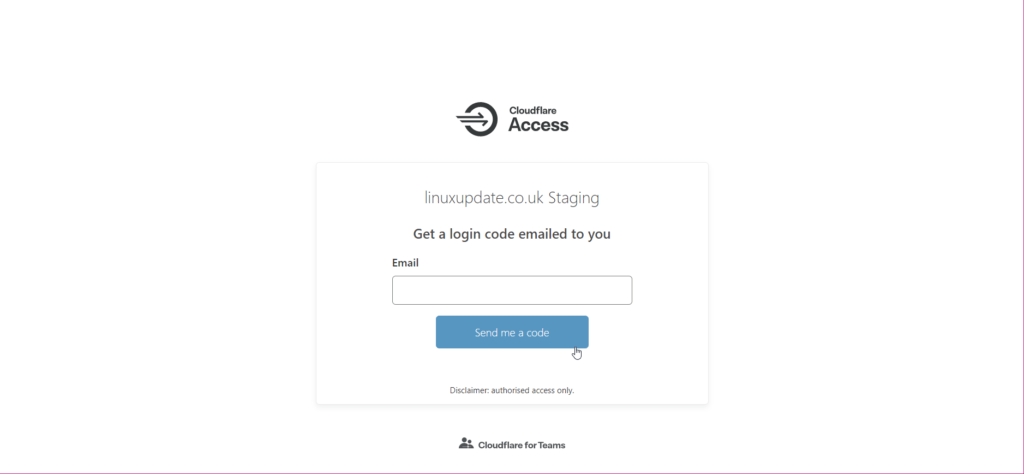
You’re done!
