Install a network printer and scanner on Linux
Tested with a Samsung Xpress C1860FW with Fedora 33 Beta
Linux support for printers straight after an install is excellent, even on a FOSS-only distro like Fedora. To add your network connected printer, I’d recommend finding instructions from the printer manufacturer but failing that (or if you don’t want to download their driver package), you can probably get it working without downloading a single driver.
Printer function:
Head to Settings > Printers and click Add…
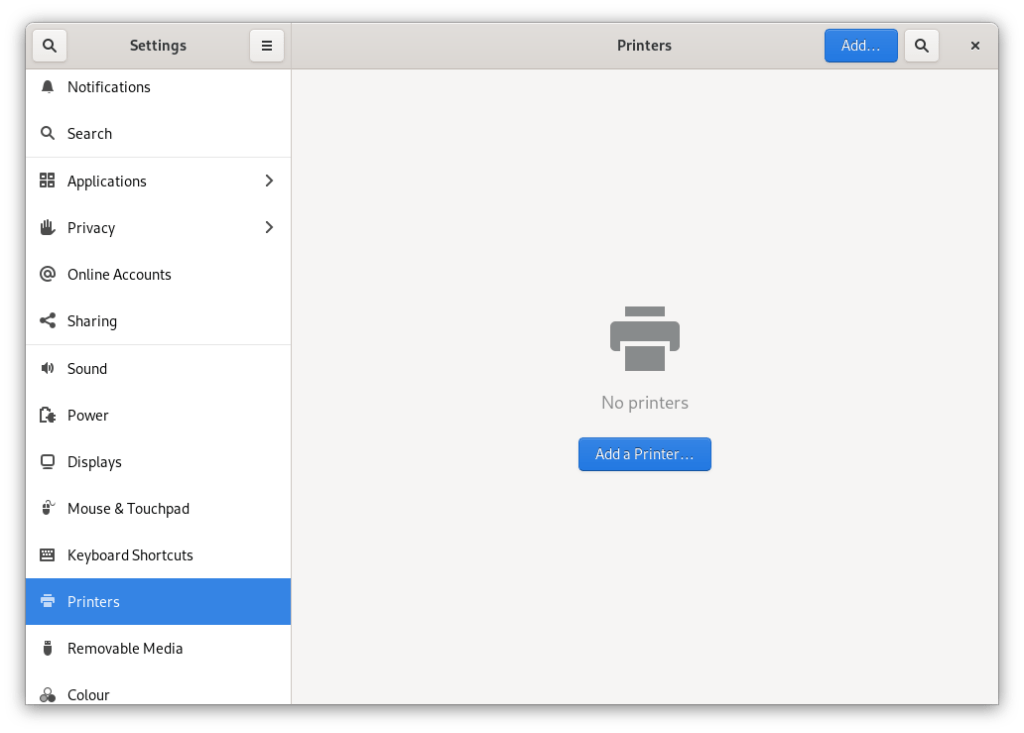
Type in the IP address of the printer, and then click on one of the options in the list, and click Add (mine gave three options – I picked C1860, but LPD and JetDirect work fine too, you just need to pick the printer model from a list with either of those).
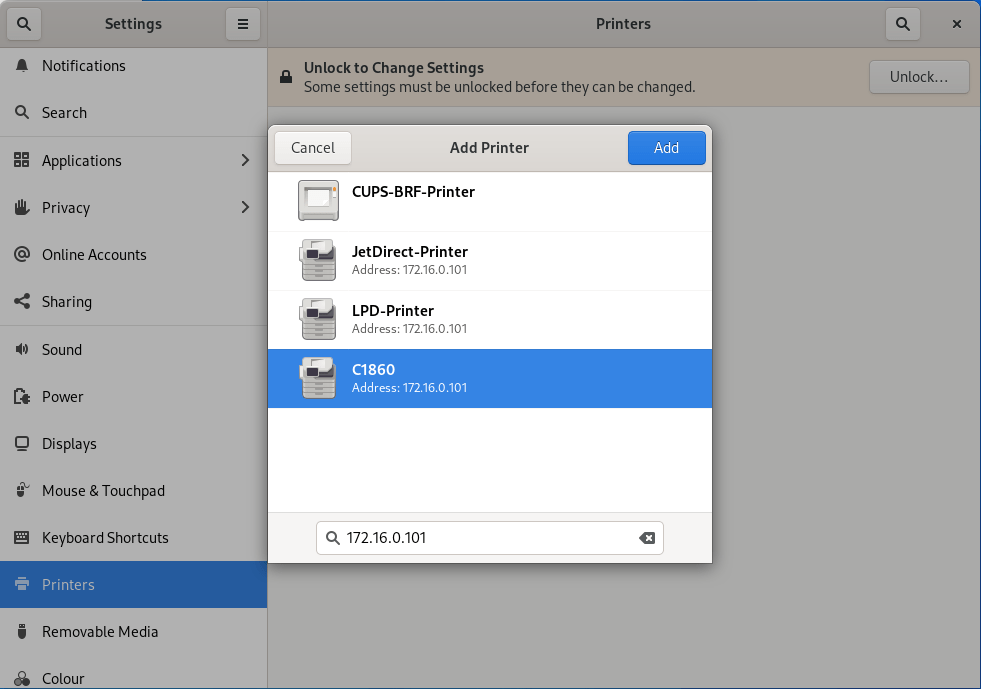
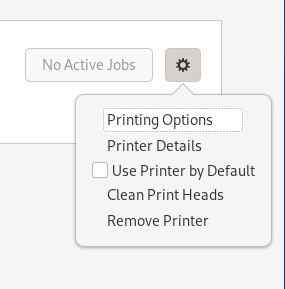
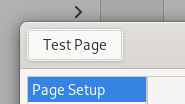
To do a test print, click the cog icon next to the printer and then Test Page.
Scanner function:
Adding the scanner is quite simple too. You’ll need to open up a Terminal window and open up the /etc/sane.d/xerox_mfp.conf file.
sudo nano /etc/sane.d/xerox_mfp.conf
Find the line in the file for your printer (Hint: CTRL + W brings up search in Nano – type the query and then press enter).

Once you’ve found your printer in the list, comment out the usb 0x4e8 xxxxx line by putting a hash character in front (#), and then make a new line and type tcp <ip address> (with the IP address of your printer, of course) and exit + save changes (Hint: in Nano press CTRL + X, then type y, and press the Enter key).
#Samsung C1860FW
#usb 0x04e8 0x346b
tcp 172.16.0.101

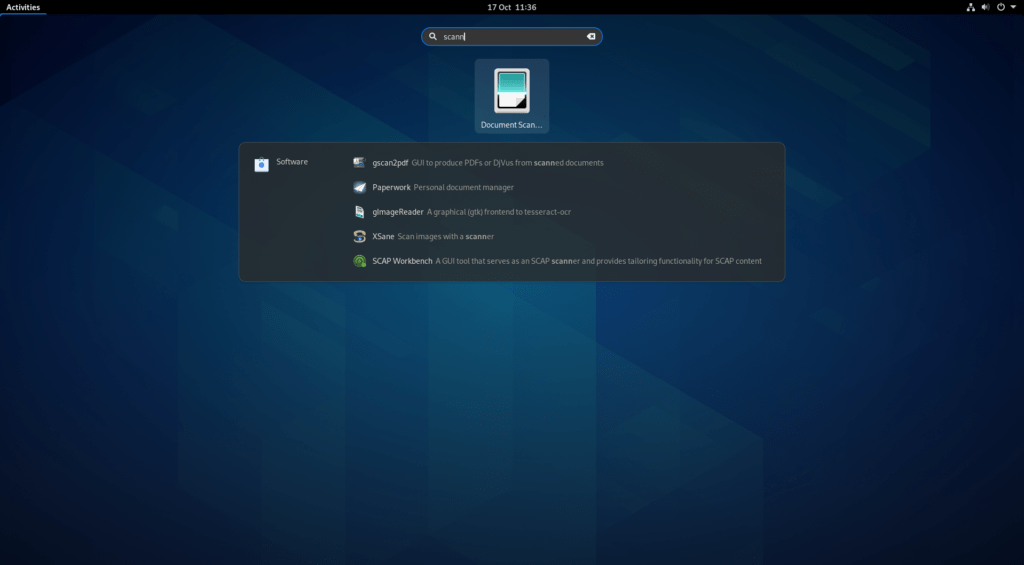
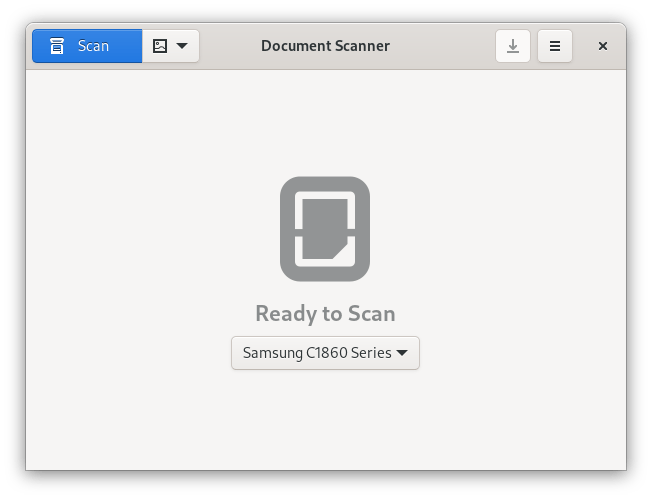
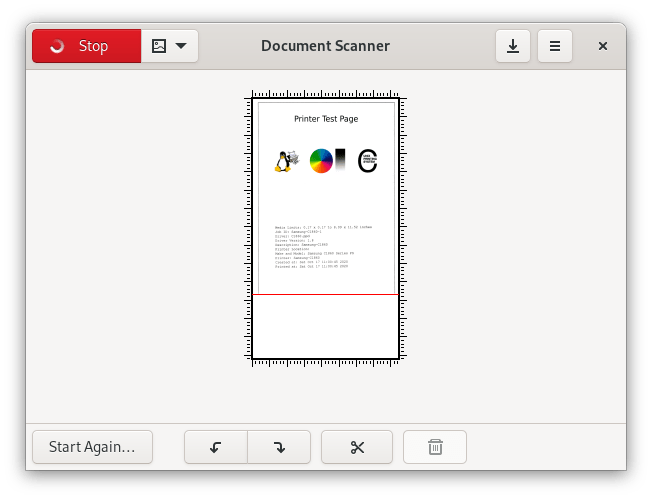
Finally, open up GNOME Scanner (or any scanning software using the SANE protocol) and scan away.
