Occasionally even though you have specified your own name servers on your DrayTek router, the router does not reflect this change everywhere (for example on the DNS Security section) and instead forces you to use the DNS servers provided by your Internet Service Provider.
This is, however, very easy to fix. First you’ll need to ensure your computer has Telnet installed (both Microsoft and Apple have stopped including Telnet by default in recent versions of Windows and macOS) so you’ll need to check (Telnet can be enabled on Windows within the Add/Remove Windows Features utility and can be enabled on a Mac by installing it via Homebrew with brew install telnet).
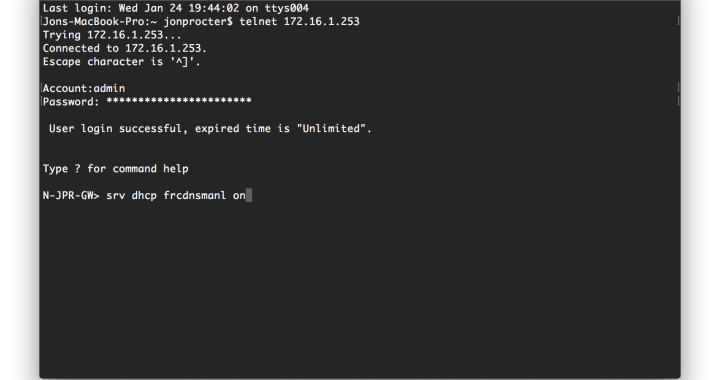
Once you’re sure you have Telnet installed, open up either Command Prompt (Start+R type CMD and press enter) on Windows, or Terminal on macOS (CMD+Space and search for Terminal). Then, type the following command (replacing my router’s IP with that of your DrayTek router).
telnet 172.16.1.253
You’ll then be asked for the username and password of your router, simply type them in (the default username on a DrayTek router is admin).
Once you’re connected, type the following command in:
srv dhcp frcdnsmanl on
Then reboot your router with:
sys reboot
All done! The new forced DNS servers should be reflected both in the DNS Security (Applications > DNS Security) and the Online Status panel (Online Status > Physical Connections).
Notes:
- This has been tested on a DrayTek Vigor 2925, DrayTek Vigor 2860, and a DrayTek Vigor 2862.
- To disable this, simply reconnect over Telnet and run the following command and then reboot:
srv dhcp frcdnsmanl off
- If you are unable to connect over Telnet to your router, ensure Telnet is enabled within System Maintenance > Management > LAN Access Setup: