NOTICE: This article has been updated for macOS Sierra and macOS High Sierra - I've included OS X El Capitan, macOS Sierra, and macOS High Sierra instructions for any stages with different requirements or commands.
At the time of writing, Apple still don’t offer a simple utility one can use to create a bootable USB installer for OS X. However, that doesn’t mean you need to take your Mac into an Apple Store to get OS X re-installed.
Before you start, you need the following:
- USB memory stick that is 8GB or bigger (USB 3 is preferable if your Mac supports it)
- An internet connection or a pre-downloaded copy of mac OS/OS X from the App Store
Downloading macOS/OS X:
You’ll need to download a copy of the OS X installer from the App Store.
For Mac OS X El Capitan (10.11.x):
Open App Store (CMD + SPACE and search for App Store and press Enter) and then search for El Capitan. Click the first result and then select Download. Click Continue if a notice comes up saying “OS X v10.11.x is already installed…”.
Wait for the download to complete and close the installer if it opens automatically.
For macOS Sierra (10.12.x):
Open App Store (CMD + SPACE and search for App Store and press Enter) and then search for Sierra. Click the first result and then select Download. Click Continue if a notice comes up saying “macOS v10.12.x is already installed…”.
Wait for the download to complete and close the installer if it opens automatically.
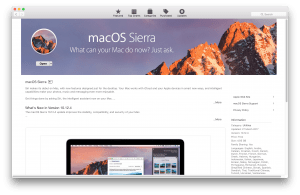
For macOS High Sierra (10.13.x):
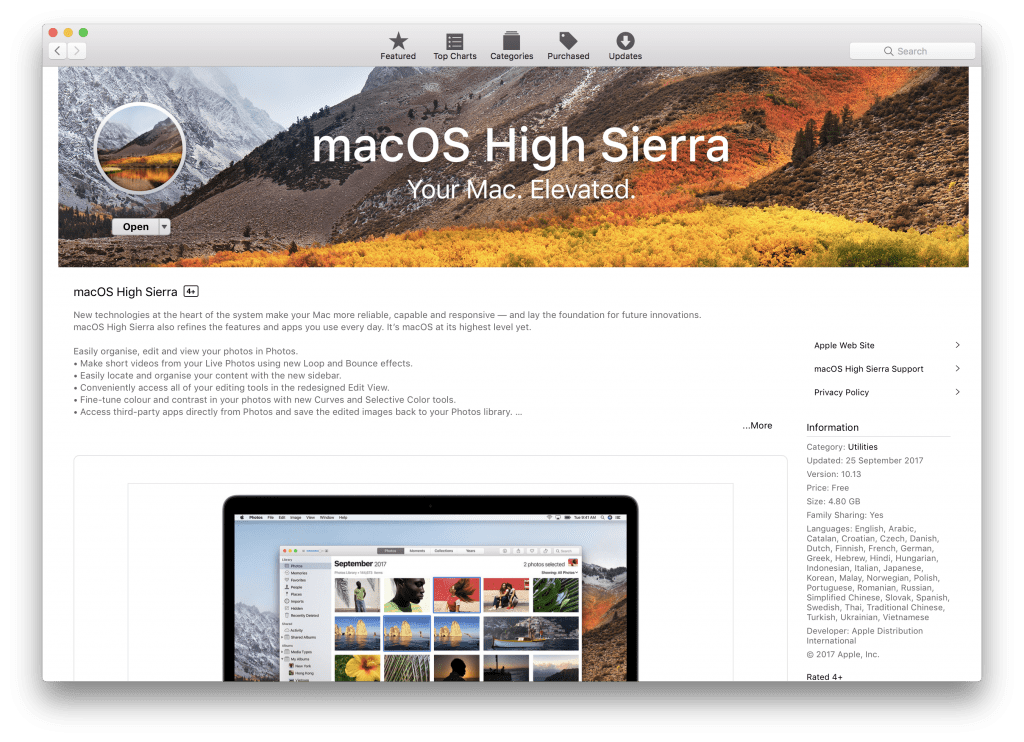
Open App Store (CMD + SPACE and search for App Store and press Enter) and then search for High Sierra. Click the first result and then select Download. Click Continue if a notice comes up saying “macOS v10.13.x is already installed…”.
Wait for the download to complete and close the installer if it opens automatically.
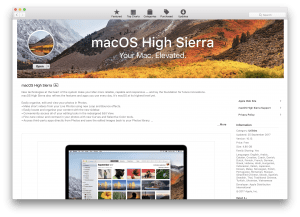
Preparing the USB memory stick/pendrive:
Firstly, back up any important data on the memory stick. We’ll be wiping it so make sure you have a copy of everything you need.
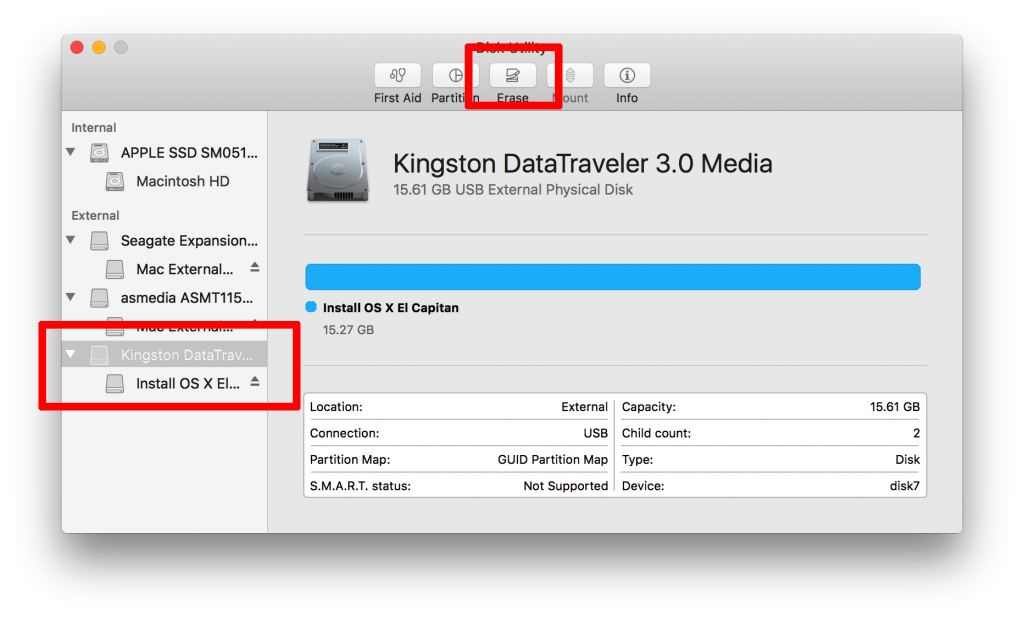
Open Disk Utility (CMD + SPACE and search for Disk Utility and press Enter).
Click on the memory stick in the list on the left and then click Erase.
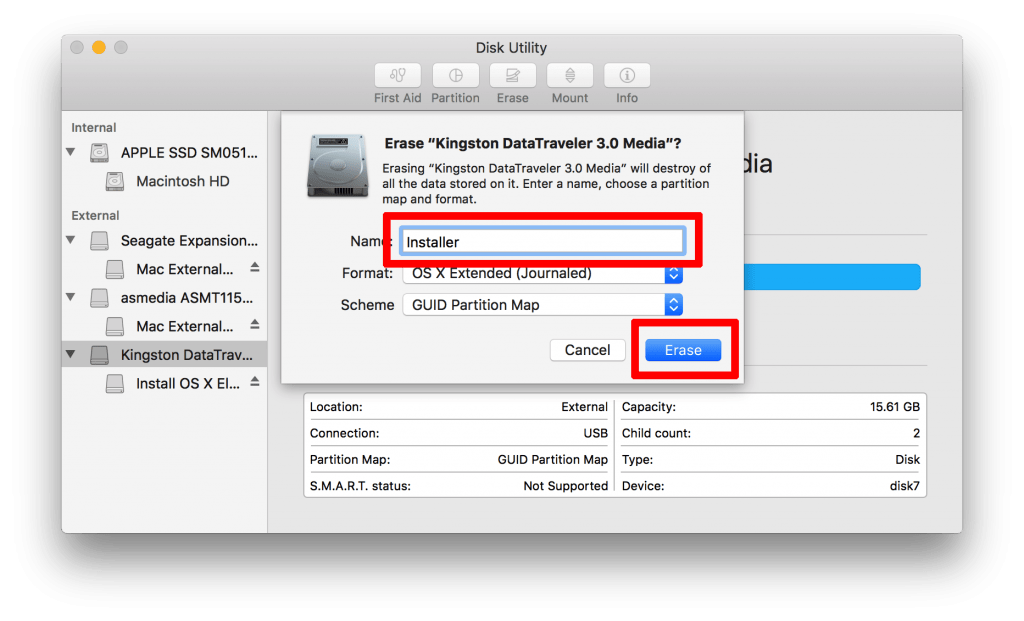
Name the stick Installer and click Erase again. If you want to be a special snowflake and name the installer USB stick something other than Installer, make a note of what you decide to name it.
Create the Installer:
Open Terminal (CMD + SPACE and search for Terminal and press Enter) and type in the following command (copy + paste may/may not work).
For Mac OS X El Capitan (10.11.x):
sudo /Applications/Install\ OS\ X\ El\ Capitan.app/Contents/Resources/createinstallmedia --volume /Volumes/Installer --applicationpath /Applications/Install\ OS\ X\ El\ Capitan.app --nointeraction
For macOS Sierra (10.12.x):
sudo /Applications/Install\ macOS\ Sierra.app/Contents/Resources/createinstallmedia --volume /Volumes/Installer --applicationpath /Applications/Install\ macOS\ Sierra.app --nointeraction
For macOS High Sierra (10.13.x):
sudo /Applications/Install\ macOS\ Sierra.app/Contents/Resources/createinstallmedia --volume /Volumes/Installer --applicationpath /Applications/Install\ macOS\ High\ Sierra.app --nointeraction
Terminal will ask for your password, put it in and press the Enter key.
Once you’re done you can easily boot from the installer stick by holding down the Option key (ALT) on boot and selecting the installer.

